Every parent or caregiver knows the joy of seeing a child’s colorful masterpiece come to life. From finger paintings to holiday crafts, kids’ artwork is a wonderful expression of creativity and growth. However, with every new drawing and project can come an overwhelming pile of paper, glitter, and glue. Without some organization, these treasured creations can quickly clutter your home and create stress.
In this post, we’ll explore practical and enjoyable tips to help you organize your child’s art. Whether you want to keep every piece or select a few favorites, these ideas will help you maintain an orderly space while celebrating your child’s creativity.
Why Organize Kids’ Art?
Before jumping into tips, it’s helpful to understand why organization matters:
– Preserves memories: Artwork captures different stages of your child’s development and personality.
– Reduces clutter: Large collections can become overwhelming and messy.
– Encourages creativity: An organized space means art supplies and finished works are easy to find, inspiring more creativity.
– Teaches responsibility: Involving children in organizing helps build good habits.
Tips for Organizing Kids’ Artwork
1. Create a Dedicated Art Display Area
Start by designating a space in your home to showcase art. This could be a wall, a bulletin board, or even a string with clothespins:
– Rotate regularly: Change out pieces to keep the display fresh.
– Use clips or magnets: Easy to swap works in and out.
– Involve your child: Let them choose what gets displayed and when.
A display area honors their accomplishments and prevents stacks of paper from piling up elsewhere.
2. Sort Artwork by Date or Theme
Establish a system to organize art as new pieces come in. You might sort by:
– Date: Helps track progression over time.
– Type of art: Paintings, drawings, collages, and crafts.
– Theme: Holidays, seasons, animals, or school projects.
Label folders, boxes, or portfolios with dates or themes. This classification makes it easier to look back on specific memories.
3. Use Storage Solutions
Once sorted, you’ll want to store artwork safely. Consider these options:
– Portfolios or art folders: Large, flat folders are perfect for keeping papers neat and protected.
– Storage bins or plastic containers: Ideal for 3D projects or bulky supplies.
– Expandable file organizers: Great for categorizing multiple pieces.
– Digital photo books: Save space by photographing artwork and compiling it in a printed photo book.
Choose storage that fits your space and lifestyle while preserving the quality of the artwork.
4. Digitize Your Child’s Art
Taking pictures of your child’s creations is a smart way to keep memories without the physical clutter:
– Use a smartphone or camera to capture each piece.
– Create folders on your computer or cloud storage to organize images.
– Use apps or online services to turn photos into customized books, calendars, or gifts.
– Share digital galleries with family members.
Digitizing allows you to keep every creation while minimizing storage space.
5. Repurpose and Upcycle Art
Not every piece needs to stay in a box. Get creative by repurposing:
– Greeting cards: Cut artwork to make unique cards or gift tags.
– Wrapping paper: Use large drawings to wrap small gifts.
– Collages: Combine multiple small pieces into a new, larger artwork.
– Laminated placemats: Protect artwork and use it daily on mealtimes.
Repurposing lets your child’s art live on in functional ways.
6. Set Limits Together
It’s okay to decide how much artwork you keep. Talk with your child about the importance of selecting favorites and recycling others:
– Use a “keep” box with a size limit.
– Encourage your child to choose a set number of pieces to save each month.
– Reassure them that discarding some art doesn’t lessen their creativity.
Setting limits teaches valuable organizational skills and helps maintain a manageable collection.
7. Establish a Routine
Make art organization part of your routine:
– Set a weekly or monthly time to review new artwork.
– Involve children in sorting, deciding what to display, store, or recycle.
– Update digital archives regularly.
Consistent habits prevent clutter build-up and maintain order.
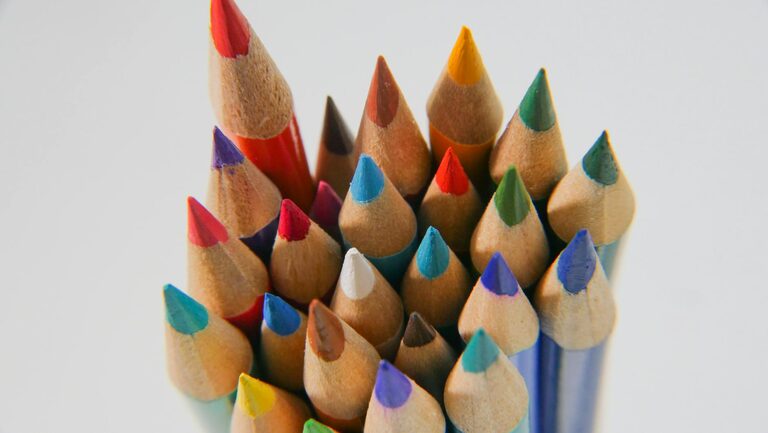
Bonus: Organizing Art Supplies
Don’t forget about the materials behind the masterpieces! Keeping supplies organized supports creativity:
– Use clear containers for paints, brushes, markers, and crayons.
– Store frequently used items within easy reach.
– Label bins or drawers to keep things tidy.
– Create an “art station” corner or portable caddy for on-the-go crafting.
An organized supplies area helps make art time enjoyable and stress-free.
Final Thoughts
Organizing your child’s artwork doesn’t have to be a daunting task. With simple systems and creative approaches, you can preserve priceless memories, encourage your child’s artistic journey, and keep your home clutter-free. Start with small steps and find the methods that work best for your family. Most importantly, celebrate the joy and imagination that each piece represents.
Happy organizing!